After my earlier post on Remote Desktop Access, I have been asked by friends to explain in detail how to set up Remote Desktop Access. Lets start with the easy one then, shall we?
Here is a step by step guide to use TeamViewer:
Step 1. Download TeamViewer(full version)
here.
Step 2. Double click the file downloaded in step 1. You will see the following screen.
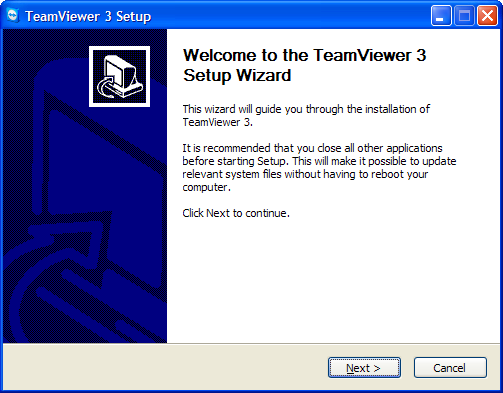 |
| Welcome screen of the wizard |
Step 3. Click next and proceed to the License agreement.
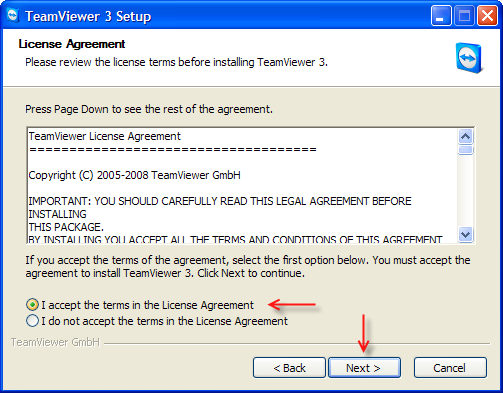 |
| The license agreement screen |
Step 4. Read (
although I never read  but still its a good idea if you want to sleep
) and accept (
or dont accept in which case the step by step guide for you ends here only) and click Next. You will see the following screen:
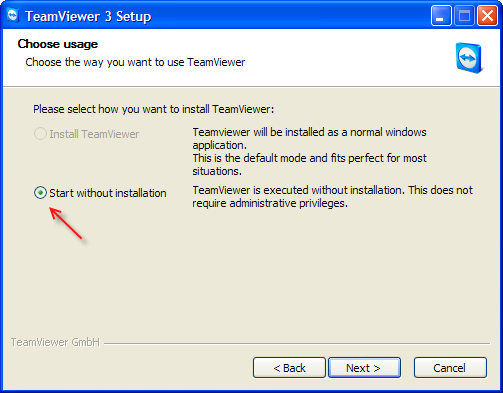 |
| Choose whether to install or not |
Step 5. Choose whether you want to install the application or not, TeamViewer 3 runs absolutely fine without installation also. Once you have made your choice click Next. Depending on what you chose you will either see the installation or the TeamViewer Window. I didnt install so here is what I got:
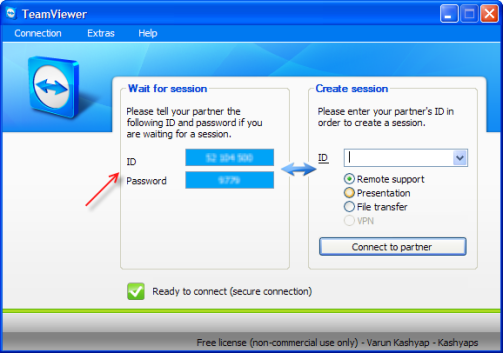 |
| You are ready to go!! |
Step 6. Now you can either choose to connect to a remote computer in which case that remote computer must also follow the same setup process and give you the ID and Password in the blue fields, you can then create a session using the ID they provided you,
or
You can have some one connect to you remotely in which case you will provide them with the ID and Password you get on your screen


No comments:
Post a Comment